Friday, 28 October 2011

Black is back!

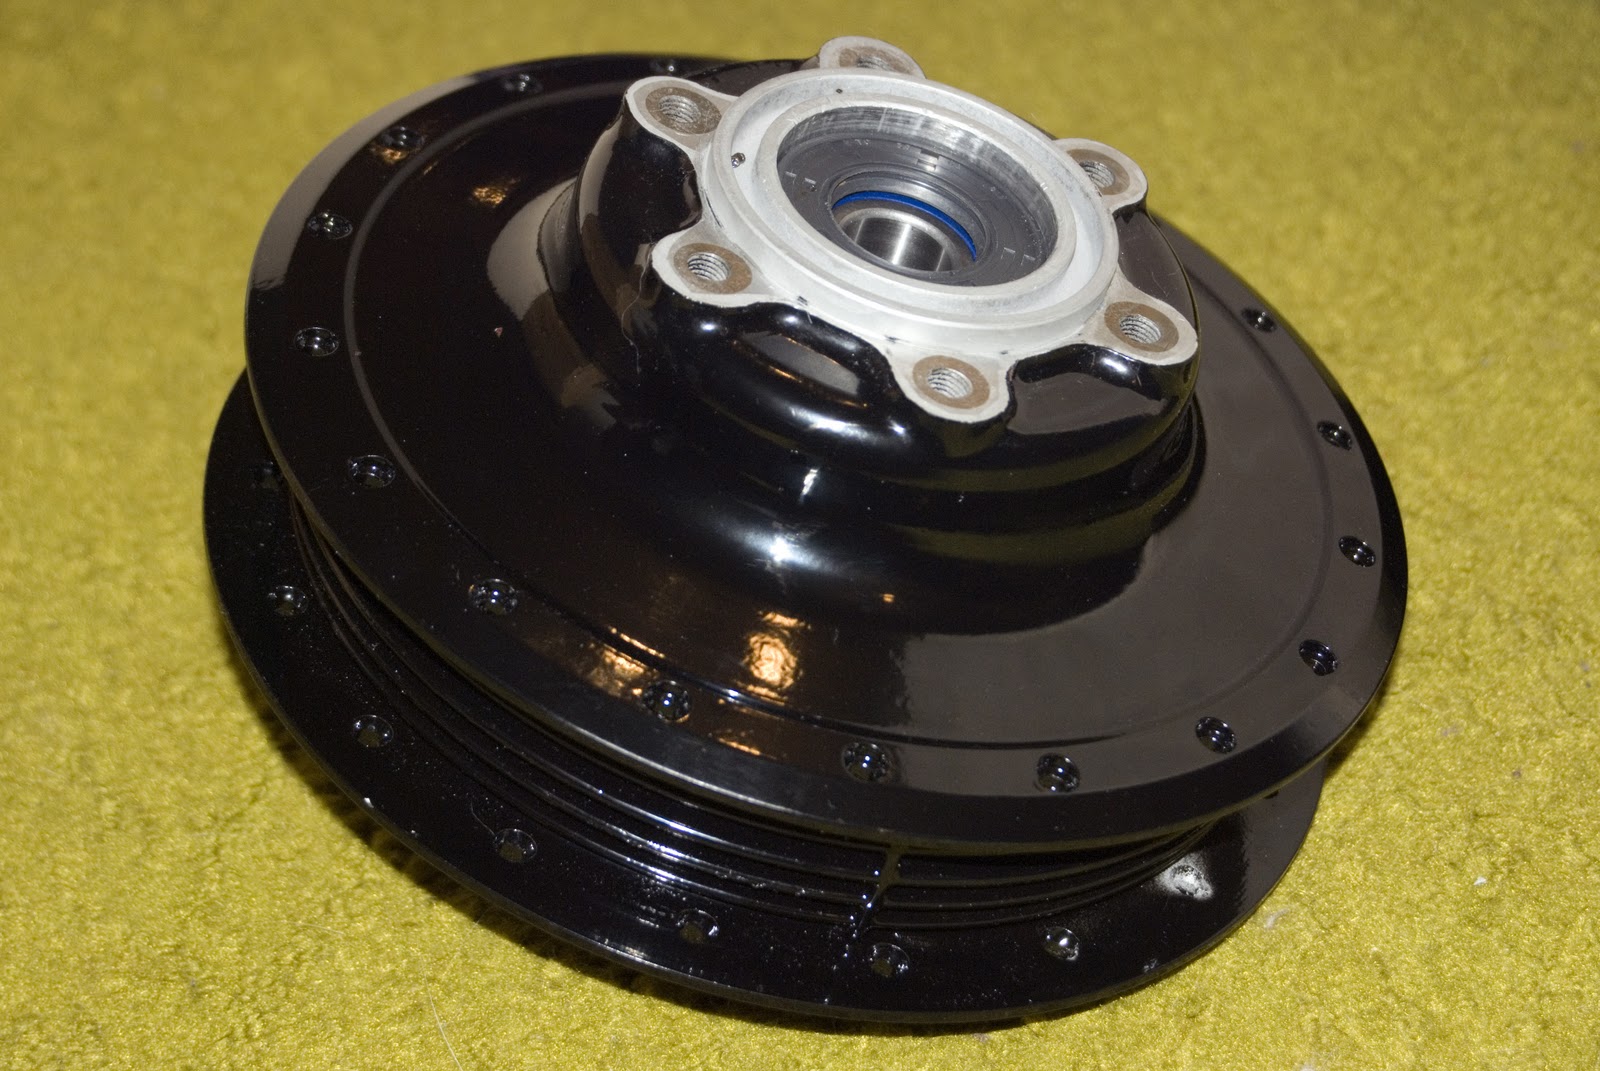
Tonight I had the opportunity to piece together the rear and front hubs after getting them back from powder-coating.

My rims will be back early next week, which will allow me to start stringing them together. I plan on visiting a pro for the rim truing and tyre mounting.

Didn't turn out too badly!


 My triple trees were also powder coated gloss black too.

Saturday, 8 October 2011

Royal replacement

To my pleasant surprise, Royal Spares were very helpful in getting me a new tool bag sent out to me  last week, in the colour that was originally requested. It only cost me the delivery charge, whilst they were happy for me to keep the red-brown coloured version as well.

It actually matches the Rich Phillips seat perfectly!

Monday, 3 October 2011

She's coming together!

It's been a big couple of weeks with the tank and chassis welding having taken place.

Arthur from North Shore Radiators did a great job of soldering my tank back together, cleaning, sealing and pressure testing it to ensure a leak free result.

This long weekend was spent removing any slag from the chassis welding, and just giving it all a once over as I move closer to getting it prepared for powder coating.

Other than the seat sitting too far forward, it's easy to see how all of the elements are coming together.


Tight squeeze!

As part of today's mock up session, I wanted to test out the fitment of the coil that came in my Pamco ignition kit from Mikes XS and the backyard slimline engine mounts that I'd made up.

Talk about a tight squeeze!

Getting bent!

It was always my intention to have a fender stay that was as discreet as possible, with it preferably running under the fender once attached.

My solution was to grab one of the Triumph fender stays that Steadfast Cycles sell.

Unfortunately it was way too narrow to suit my application, however, with some careful re-bending it now clears my 4.5 x 18 Firestone tyre. It was also way too short to clear the wheel, so I decided to give myself a flexible fix. This called for some 10mm threaded rod and rod ends.

Now I have an adjustable fender stay!


Sunday, 11 September 2011

Getting a handle on things

Yesterday was a big step to getting the bobber well and truly under control. The chassis was delivered to get welded together.

I'm also getting key parts of the bike sandblasted over the next couple of weeks in preparation for some powder coating.

I started to assemble the handle bar and switch gear throught the week.The parts include a TC Bros Drag Bar, Mikes XS right side switch, throttle and master cylinder, Posh grips purchased Deus Ex Machina and left switch from Motorcycle Recyclers.


Part of today's research was locating a suitable supplier for a single piece braided brake hose to run to the older style caliper. This is a Mikes XS complete early caliper that they sell, with a 10m x 1.0 banjo bolt which happens to suit the same thread and pitch that originally utilised a hard line fitting arrangement.

Sunday, 28 August 2011

What a tool ..................bag!

Didn't get too much done this weekend, however, I managed to get all of the metalwork prepared for welding and pressure testing of the gas tank. Once done, prep and painting can begin.

Mounting of the ignition switch was also performed, with just enough clearance available between it and the tool bag that had arrived during the week.

Unfortunately I wasn't quite delivered what I'd ordered, with the tool bag having much more of a red/brown finish, rather than the tan coloured version that was expected. With the supplier Royal Spares being all the way in India, I just couldn't be bothered trying to fight it, and decided it might not be too bad after all. It kind of matches the copper milk urn and outside edges of the seat.

As you can see, it was an opportunity to mock up the gas tank, hard tail, milk urn, tool bag and seat. The seat is definitely well too far forward, and will likely be another 70mm further back. This will get determined when I'm mocking up the rear fender position.

Thursday, 25 August 2011

Talk about service!

To my disbelief, an order of new shiny, or in this case black coloured bits arrived from one of the parts suppliers, Webike, that I had discovered.

Amazingly all of my parts arrived in a record time of only 4 days from Japan to Oz! As much as I'd like to support the local guys, you can't beat 30-40% cheaper pricing and free shipping!

Ofcourse I had to do my usual ritual of a test fit the moment I walked in the door last night.

In the shots below you can see the 5 3/4 Bates replica headlight, headlight bracket, blinkers and 49mm Bates style taillight that I'd ordered from Webike.

I also did a test fit of the XS650 specific blinker stays from Motolanna and a headlight grill from a local ebay parts supplier.


Sunday, 14 August 2011

Beyond the point of no return!

I took the plunge and finally committed to the hardtail today by chopping my chassis up.

The TC Bros instructions were very straight forward and are a good guideline as to what prep is required prior to final welding.

For all of you seasoned bike builders out there, you will notice that I don't have a motor mount brace to keep the down tube and chassis rails true. I was fortunate to acquaint myself with a very helpful member of the XS650 Club of Australia who is providing me with valuable advice and a helping hand. Thankfully he has an amazing jig that will help square the chassis prior to welding.

Of course, as any excited bike builder has done, I had to do a test fit the first chance I could.


Sunday, 24 July 2011

Well bung me!

The custom tank that I'd had made up, despite being a great shape, had a few areas that needed re-doing.

One of which was the neck bungs. The neck bungs on my tank were not in line with each other, with one of them also being sunken about 4 mm lower than the other.

To solve this, I'd ordered some new neck bungs from Lowbrow Customs. Since I wanted to use their Triumph style gas caps down the track, it was a no brainer to make this mod.

The new bungs are a much larger diameter, however, with them being more even now, I think it was worth the effort.


Time for an adjustment

One of the minor hurdles I faced was what to do with my chain adjusters to suit the TC Bros hard tail. Being a universal hard tail, the plates where the adjusters attach are 10mm thick rather than the 15mm that my 75 chassis has. This meant that the chain adjuster bolts no longer line up with the centre of the plates when using the original adjusters.

My solution was a simple one, I'd found Honda 3/4" chain adjusters that happened to suit the10mm axle plate. Perfect!

All I need now is some spacers to that will sit outside of the adjusters.

I thought I may have had a solution right in front of my face in chopping up and utilising washers from the original adjusters for a trial fit. It seems that they're just not wide enough, however, it was worth the shot.


Decisions, Decisons.

I took the time to get a rough layout for the fender length, seat position and milk jug orientation.

Despite not having my actual Firestone rear tyre in place, it was still enough of an opportunity to discover the orientation of the mik jug, which will likely need to sit with the label facing out and handles front to back. This is due to the handles possibly getting in the way of the chain when facing out to the sides.

In terms of the fender length, I'll check what the regs are her in NSW before committing to any cuts. I think where I propose to leave it should be suitable.


Friday, 22 July 2011

Got MILK?

I made a decision today that has confused most of those around me. They just can't get their head around the fact that I'm sticking a Milk urn on my bike!

I originally purchased the TC Bros electric box combo, however, I did have the urge to really make my build just that little bit different and off the wall.

I'm going to use this as a housing for my battery, rectifier, fuses, relays and perhaps ignition switch in the lid.

Even with my planning to use an A123 battery pack to save space, it'll be a tight fit. Another major draw to using this urn, is that I can have cabling run beneath the frame of the bike, thus reducing the need to hide them if they were running from a regular style faux oil tank/electric box.

I even had the supervisors give their seal of approval.


Sunday, 17 July 2011

Helmet is striped and done!

Yesterday I had the pleasure of meeting Gary Howell @ "Signs by Gary Howell", who did an awesome pin-striping job on my helmet.

I'm so happy with his service and workmanship, that I'll be seeing him when it's time to gold-leaf the tank as shown in my previous post.

I must say, having to sand back and age his beautiful work was a tough chore, however, I think it all ties in together really well.

For anybody wanting to get some pin-striping done in the Sydney area, he is your man!

Once again, thanks to Lisa Cotterill @ Envisage Makeup Artistry for helping out with good old Pepe!