Monday 28 November 2011

Like a glove!

One of the main features of my bike is going to be the copper and brass milk urn that will double up as a battery, ignition switch and relay housing.

I was concerned that the diameter of the container would potentially pose problems with the chain and brake linkage.


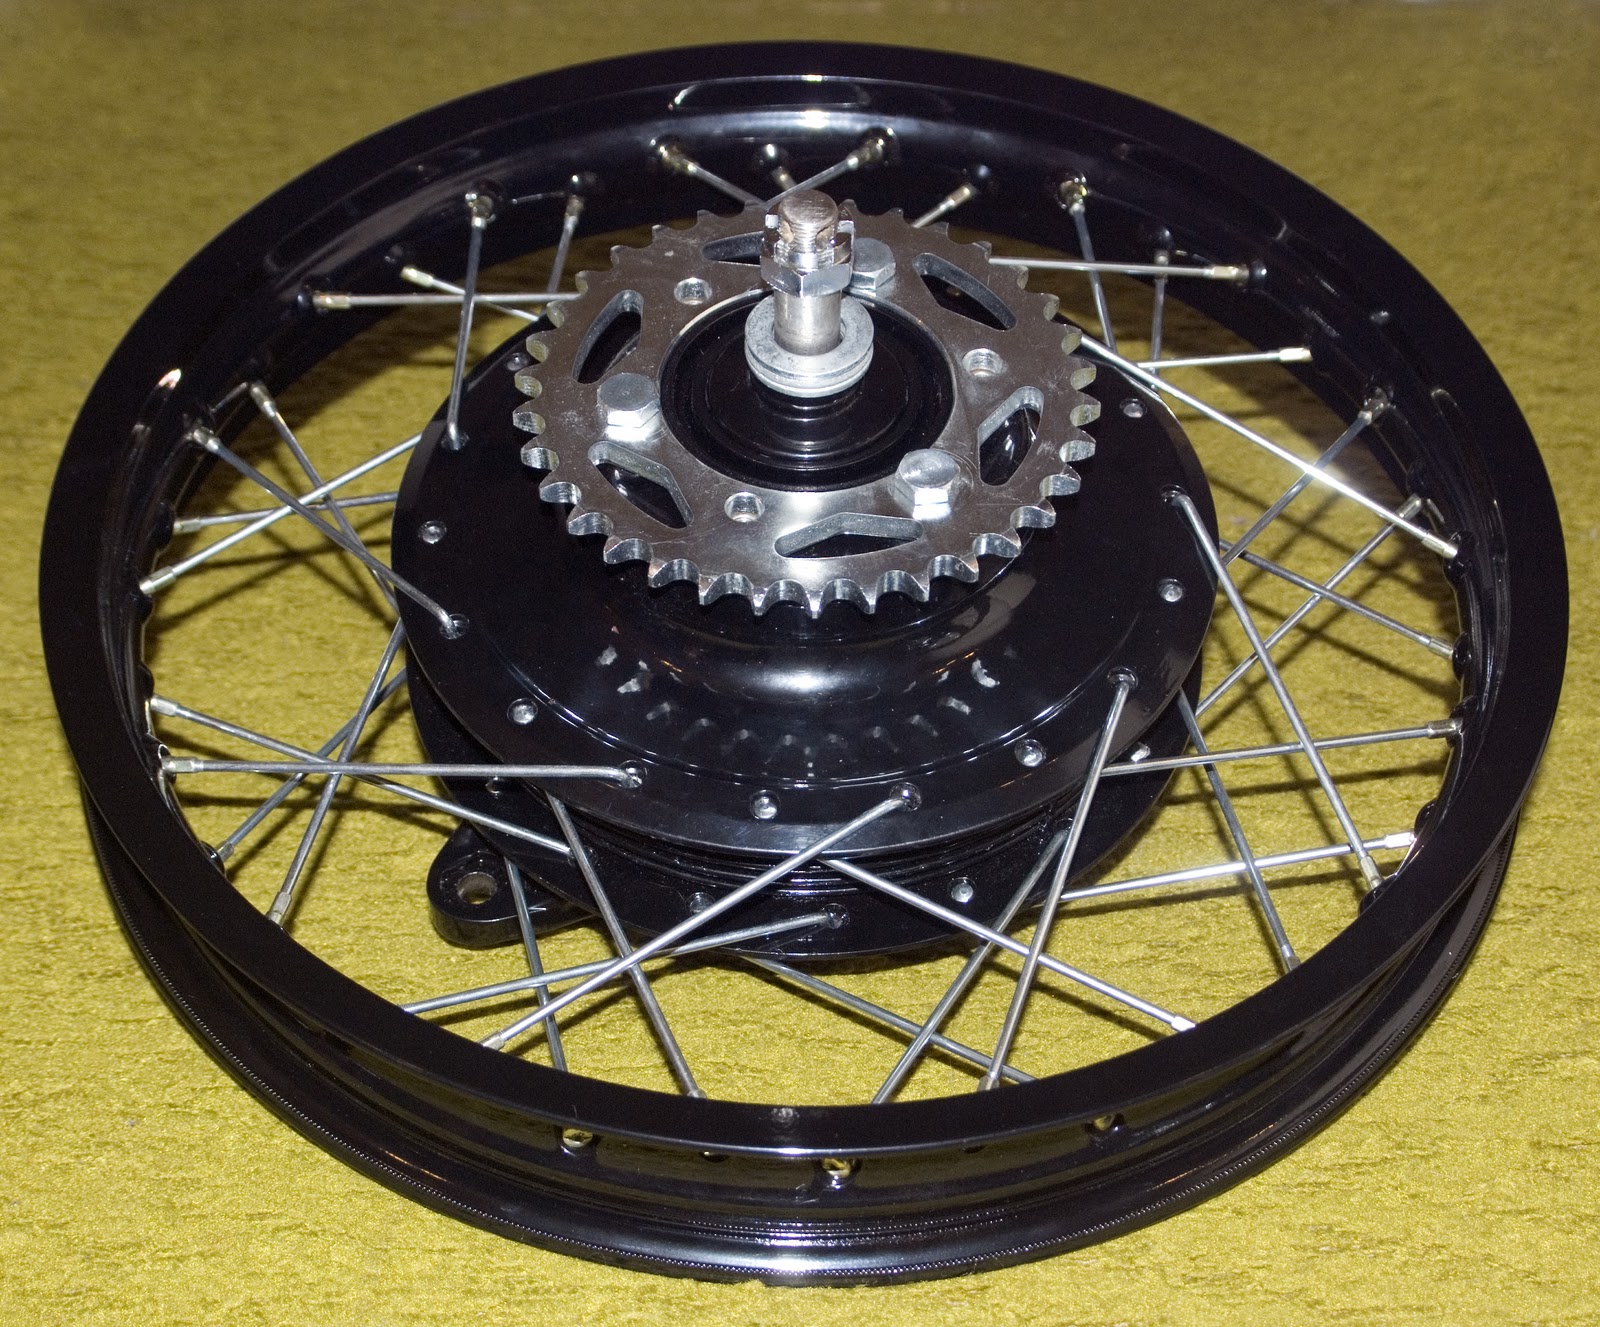
I mounted up the rear wheel including rear sprocket and the Monster Craftsmen bolt on chain tensioner to check the clearances should I mount the urn straight down the guts of the bike. Thankfully it appears that the chain will just clear the urn.


I also had to make certain that the urn didn't interfere with the brake linkage that I am running. Again, there was just enough clearance which is what I had bargained on.


The linkage rod will be sitting on a steeper angle than shown, which has left me pondering how to not screw up the overall theme of the copper urn. What I'll do is grab some copper tubing to act as a sleeve over the threaded ro in place of the steel tube that I currently have. I suspect it shouldn't look too bad.


I'm also likely to get some copper tube for the brake stay too.

Today also gave me the chance to mark up the location of the Hugh's Handbuilt regulator that I got with my PMA kit. I propose to leave it outside of the urn, just under it to allow for air flow. In this location it is protected by the chassis rail, as well as being in a position that the wiring will be hidden very well.

Mids Mounted (well kind of)!

I finally got around to mocking up all of the elements to my version of the Mulligan Machine Mid Mount solution.

I picked up a set of folding pegs from Steadfast Cycles that closely match the factory rubber upon the kicker and clutch pedals.

Admittedly I wasn't comfortable with the strength of the pegs, so I set about making them durable enough to handle my frame. The original design was pretty much sheet steel folded into a tube. I located some stainless solid round bar that I managed to get into the ID of the tubular peg. I drilled out a larger diameter mounting bolt, also in stainless to ensure that they won't self destruct when if I put too much pressure on them.

I'm going to get the arms and mounting bracket gloss black powder-coated, whilst the all of the remaining metal within the pegs and bolts will be black nickel plated.

I loosely mocked everything up prior to getting them welded together once I double check there exact positions.


2 days to go........

Only 2 days of Movember left for your chance to donate to prostate and men's depression.

Any donations big or small are greatly appreciated!

http://www.movember.com/m/810250

Saturday 26 November 2011

Braking news!

I had originally planned on using the TC Bros forward controls, brake pivot and linkage kit for my build, however have decided to stick to mid mounts for now.

I did however decide to utilise the linkage kit for the bike.

This struck it's own problem, especially considering how I was going to attach the rod end to the brake arm upon the rear hub.

I think I've come up with a pretty elegant solution that will work well and look good.

I simply found a shouldered bolt (Allan head) that was the correct diameter to fit within the lever. I had a thread machined into the bolt, and there you have it!


Thursday 24 November 2011

Wheels before and after

Here's a handful of shots showing the progression of the wheels from rusty and grimy to freshly rebuilt and powder-coated.

I laced the rims myself taking advantage of the Fong Bros fantastic tutorial, with the truing and tyre mounting taking place tomorrow via a pro shop.

I also plan on getting the axles, nuts, rear sprocket and bolts black nickel plated.


Sunday 13 November 2011

All Forked UP!

After a lot of effort, I've finally got the lower fork tubes very close to a finish that I am happy with.

It took close to six attempts including a failed powder coating effort to get them to where they are now.

Unfortunately the original plan of powder coating them gloss black failed due to an out-gassing issue that created a significant amount of bubbling upon the finish. After having them powder coated by a friend of a friend, it was all too messy to get my back up over the situation, so I attempted to fix them myself.

I decided to simply sand back the powder coat with 600 grit wet and dry, to get it back to the blemish free surface that I'd originally had.

I utilsed the VHT roll bar spray paint and subsequently covered it as directed. I did however, manage to stuff up my hard work (more out gassing) after deciding to bake them in the oven to try to obtain a better gloss result.

Needless to say, after much trial and error, I now know the correct recipe to getting the quality of finish that I require. This process also includes a liberal coating of clear coat.

All that's left now is to remove any tape, install fork seals and re-assemble the front end.


Wednesday 9 November 2011

Donate to prostate - Movember

G'day all.

I'm spreading the word that I'm captaining a Movember team, with the objective of growing the meanest baddest soup strainer to help raise donations to fight prostate cancer and men's depression.

Any donations and support of the Movension Studios team would be greatly appreciated, and going to a very worthy cause.

http://au.movember.com/mospace/810250

All participants are required to be clean shaven on Nov 1st, and let the lip run wild for the month of November. I'm going for the combination of trucker and Uncle Chop Chop.

Saturday 5 November 2011

Barred up!

Here's a random shot of the bars, triple trees and risers all mocked up.